Do you wonder if your web design works? Does anyone click your action buttons? A close look at analytics data reveals these answers. After much filtering and tagging, you can even get charts and graphs. But these answers come more quickly with a heat map.
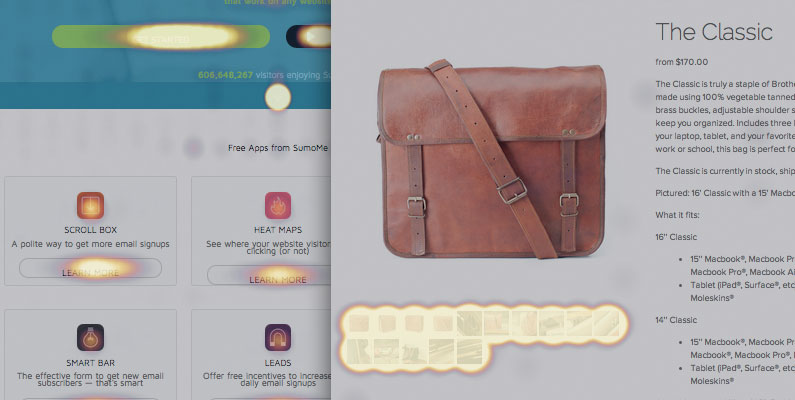
Heat maps provide visual proof of your website’s weak spots. In the maps pictured below, yellow or white areas highlight web design elements that attract a lot of clicks. Purple or dark areas get fewer clicks.

Want to get your own heat maps? SumoMe is a toolkit for identifying these weaknesses and exploring tactics to improve performance. Installation is simple, especially for self-hosted WordPress site owners. I’ll walk through the basic steps for WordPress, all the way through setting up heat map tracking for your homepage.
Want help implementing SumoMe? Give me a call.
Visit SumoMe.com
While you’re on SumoMe.com, feel free to browse around and read about the other free tools offered. You should also read the official SumoMe instructions before starting. Ignore their first step if you have WordPress, we’ll get the code a different way in a moment.
When you’re ready to really get started, click the Try It Now button on the homepage. When prompted, enter your email address. Then you’ll be asked to copy and paste a section of code. Don’t do that. We’re working with a WordPress website with its own plugin. Click the “Use WordPress?” link below the code sample.
Next, you’ll see a page with a box providing instructions for a number of website platforms, including WordPress. Click “Download Plugin” and save sumome.zip to your computer.
Install and Activate the Plugin
Login to your site and look for Plugins in the left sidebar. Click “Add New,” then “Upload Plugin.”

Follow the prompts to select sumome.zip from your computer and upload it to your server through WordPress. When installation is complete, click “Activate Plugin.”
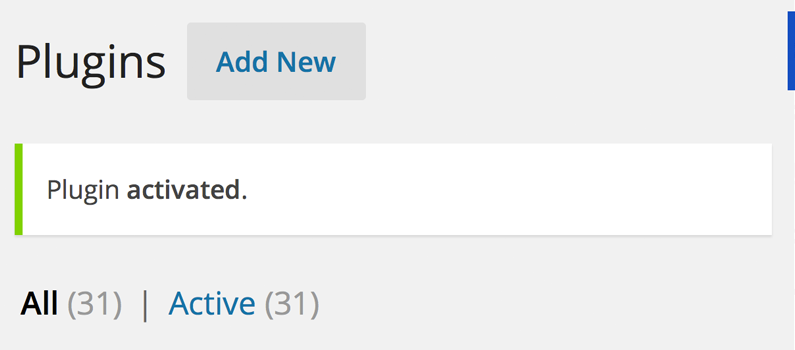
Here’s where I got lost the first time I worked with SumoMe. There’s no further instruction from the SumoMe website, no helpful prompts from your new plugin. Nothing to instruct new SumoMe users. Just the plain old Plugin Activated notification.
However, there’s something different about this screen. Something’s there that wasn’t there before. Do you see it?

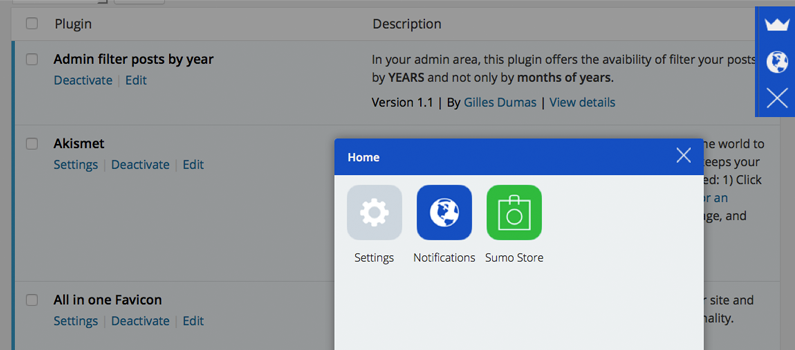
There’s a thin, blue line in the top right. Mouse over that area to transform it into a crown on a blue background. Click the crown icon to take the next step.
Sign Up for SumoMe
When you click the crown, you activate a dialog box that asks you to sign up or login. This step was also confusing for me. I thought I’d created an account when entering my email address several steps ago. However, that just signs you up for the email newsletter and not a SumoMe account.
Click “Sign Up” to begin. Enter your email address and make up a password. On the next screen, you can opt to submit your name and phone number for better customer support if you ever need it. Click “Skip” in the lower left to go on without entering that info. The next screen, titled “Home”, shows three icons. Click on “Sumo Store.”

Add Heat Maps
The SumoMe store presents a selection of tools for analyzing and improving your site. It closely mimics other app stores, making it easy to identify interesting tools and choose the ones you want. Click “Heat Maps” in the Analytics section, then click the large button labelled “Free.” SumoMe will notify you that the tool is now activated.
The Free button should now say “Open.” Don’t click this button yet. We have one setting to configure and one important decision to make. Click the “X” to close SumoMe.
If you’ve been following along, you’re probably still on the Plugins page. Let’s head to your website’s homepage for the next steps. Mouse over your website name in the upper left corner and click “Visit Site” from the menu to go there.
Choose a Page to Track
Your homepage is the best place to start with heat maps. It’s where you spent money on a smart web design. For many businesses, it’s one of the most visited pages. But it’s not the only page worth tracking.
After you feel comfortable setting up heat map tracking and accessing the results, try it on landing pages, individual blog posts and other prominent pages. Check out SumoMe’s guide to heat maps for a guide to choosing which pages to track.
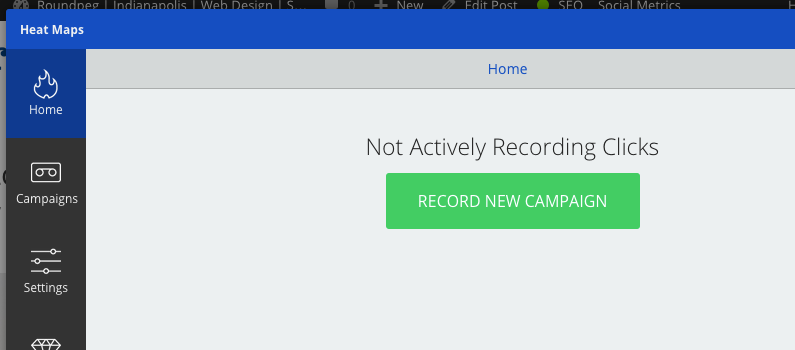
For now, let’s stick with your homepage. Once you’re there, mouse over the SumoMe badge and click the crown icon. You should now see four icons. Click on the flame icon for Heat Maps and click Record New Campaign on the next screen.

Click “Record New Campaign” to start tracking click on this page. And that’s it! You’re officially tracking click data.
When the screen refreshes, it says 0 Clicks Recorded. And if you click “View Active Campaign”, the screen darkens to show your heat map. Of course, there’s nothing there yet. Come back later to see your collected data.
Update Your SumoMe Preferences
Just two more things to watch out for with SumoMe. Mouse over the badge and click the crown icon to see the SumoMe Home screen. Click “Settings” and then “Badge”. Free SumoMe users are forced to show the badge on their site. Upgrade to a paid plan to hide it. But anyone can move the location of the badge to a different side of the screen from this settings screen.
Next, go back to SumoMe Home and click “Heat Maps”. Choose “Settings” from the sidebar and update your setting for tracking users to “No, don’t track clicks for users logged in to SumoMe.” This prevents your own clicks on the site from skewing the results.
Let tracking run on your chosen pages for a set period of time. Keep it long enough to include the results in your next marketing check-up. Check the design’s “heat” against your strategic goals. Does a special offer or call to action get the attention you expect? The heat map will tell you. If things are working, great! If not, you know what needs to change.
[su_hate_your_website]