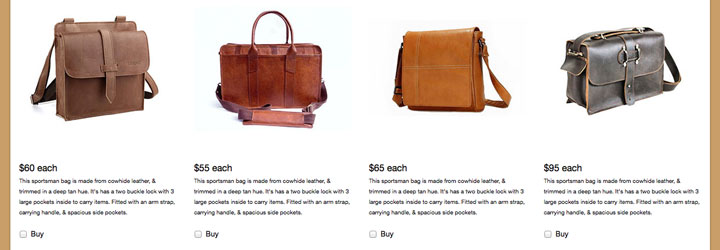
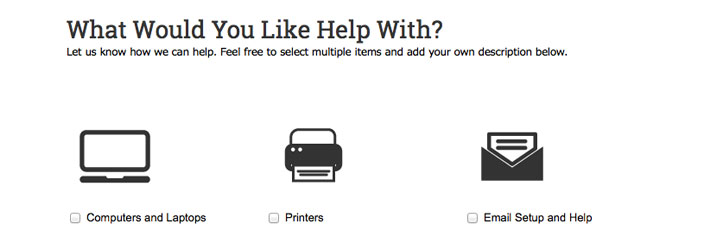
I’ve been working on a project for a client that wants to sell online, but doesn’t need or want an e-commerce website. No shopping cart or check-out, nothing. What they want is an easy-to-use, online version of their existing product order form, with a picture for every item.
They already use Formstack, a fantastic online form builder that works great for order forms. But most Formstack forms I work with don’t have pictures. So, I got in touch with customer support and got a helpful response from Jessica at Formstack. She sent over an example order form that captured exactly the experience we’re going for.

Here’s how you can make your own Formstack online order form (with pictures!) by combining some basic parts and Jessica’s tip.
1. Create a new blank form in your Formstack account. Don’t have an account? Get one here.
2. Add any fields that need to be completed before getting to the products. This might be a good place for a short introductory paragraph or header.
3. Add a new section. Do not fill in the heading or text fields in the dialog box. Set this first section to four columns, don’t worry about why for now.
4. Create another new section. Make it one column. This section will contain your first product.
5. Add a description field to the section. Use the field’s editing tools to add an image and a short text description.
6. Add a checkbox field to the section. Label it if you want, then click the Options tab to add only one option: Buy. If you want to allow customers to purchase multiples of an item, add a number field.
7. Create another new section. Make it a one column section. This is your second product. Add the image, description and purchase options. Continue making sections and adding fields until you add all of your products.
8. Next, add any customer information fields you need to make the order happen.
9. Save your form. That’s it! Now, all you have to do is share your form’s link or embed it in your site. Putting the form on a WordPress site is even easier with Formstack’s WordPress plugin.
Ready for a bonus round? Your form built with the steps above will only show products in one long column, despite the setting in step three. But, with some extra elbow grease, resourcefulness and a little knowledge of CSS, you can line them up in rows and multiple columns like this custom form we built for our client.
If you already know some styling code, it’s easy to identify the CSS selectors and modify the form’s theme. However, Jessica’s example order form and its multi-column theme can actually be added directly to your account. From there you can just apply the example’s theme to get the same look. No need to code. Note: If you have a Starter Formstack account, you can only save one customizable theme.
Here’s how to add the illustrated order form theme to your account.
1. Go to Formstack’s Examples page and hover your mouse over the Order Form. It should be brown with pictures of bags and purses, like the first image in this post.
2. Click “Get This Form” and enter your account login info. A copy of the form itself will be added to your account and the form’s custom theme will get added to your theme collection as well, probably titled “05 – COPY”.
3. Next, go to the General section of your form’s settings. Scroll down to find My Themes and click “05 – COPY” to apply the theme. If you’ve built the form with the settings I talked about in step three, this theme will make the products float next to each another in multiple columns and rows. The theme also comes with a brown background and some other custom styling which you’ll probably want to customize on your own or with the help of a web designer.
Whether I’m adding custom code or sticking to the basics, Formstack’s versatility means I can have the order form, appointment scheduler, newsletter signup, questionnaire, RSVP, survey, file sharing form (gasp) application, registration, salutation, lamentation, defenestration et cetera et cetera et cetera (gasp) of my dreams. It’s pretty cool.
If you need help or want to know more leave a comment, thanks!

